Address
304 North Cardinal St.
Dorchester Center, MA 02124
Work Hours
Monday to Friday: 7AM - 7PM
Weekend: 10AM - 5PM
Address
304 North Cardinal St.
Dorchester Center, MA 02124
Work Hours
Monday to Friday: 7AM - 7PM
Weekend: 10AM - 5PM


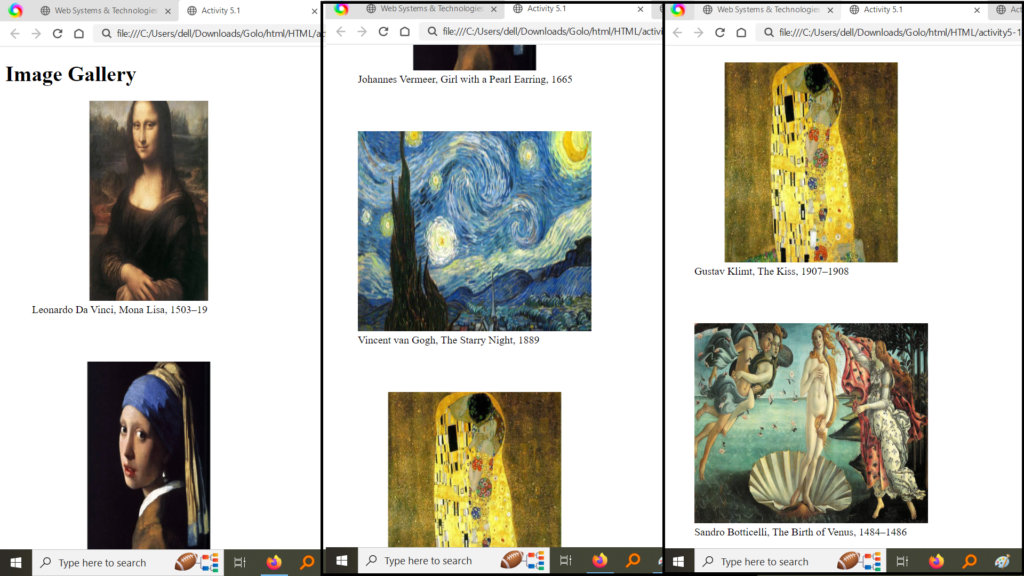
This activity showcased the use of the <figure> and <figcaption> tags to display images alongside descriptive captions, creating a structured gallery layout.
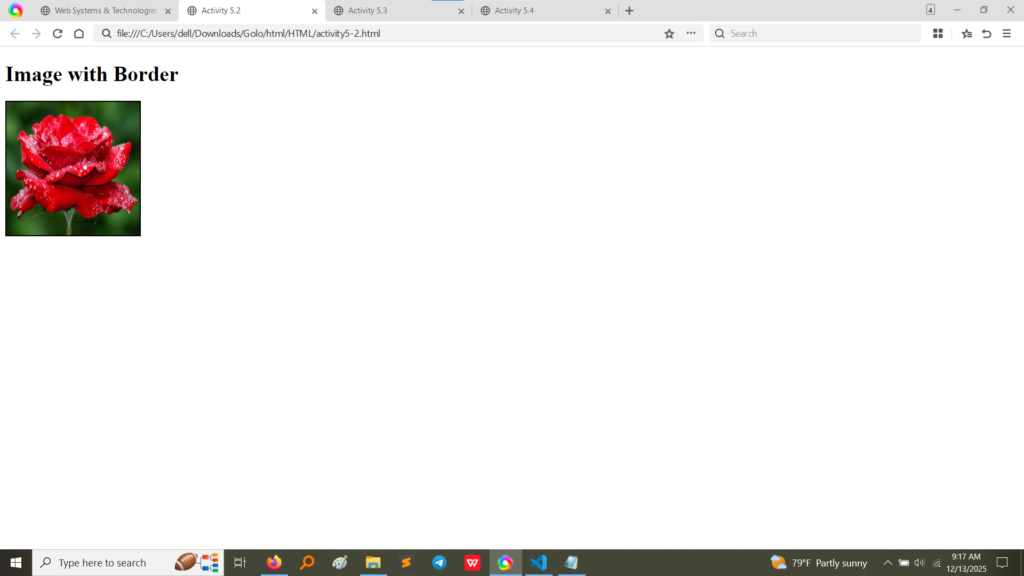
Activity 5.2 focused on applying basic inline styling and dimension control to a single image.
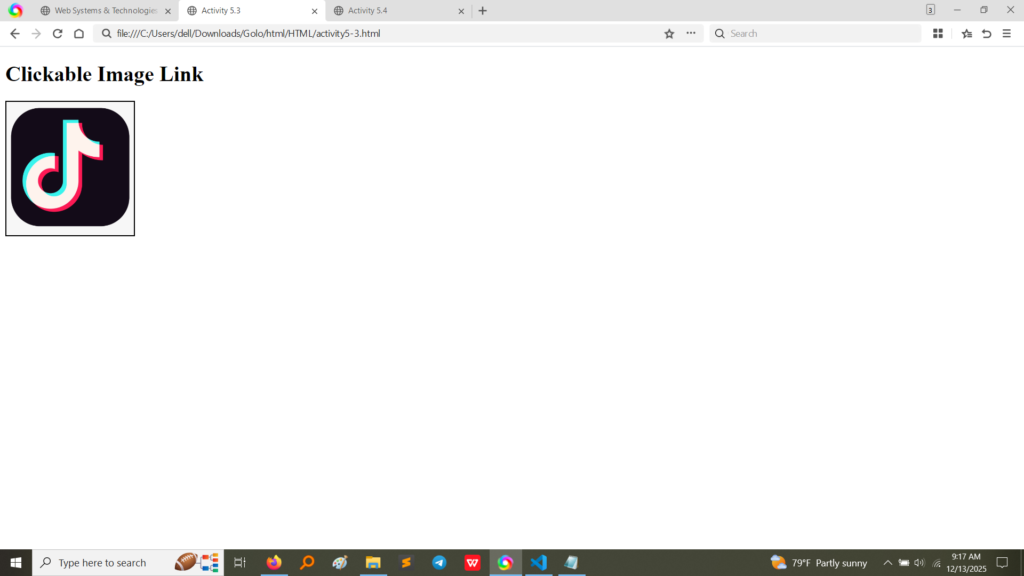
This exercise combined the linking power of the anchor tag (<a>) with the visual element of the <img> tag to create an interactive, clickable image.
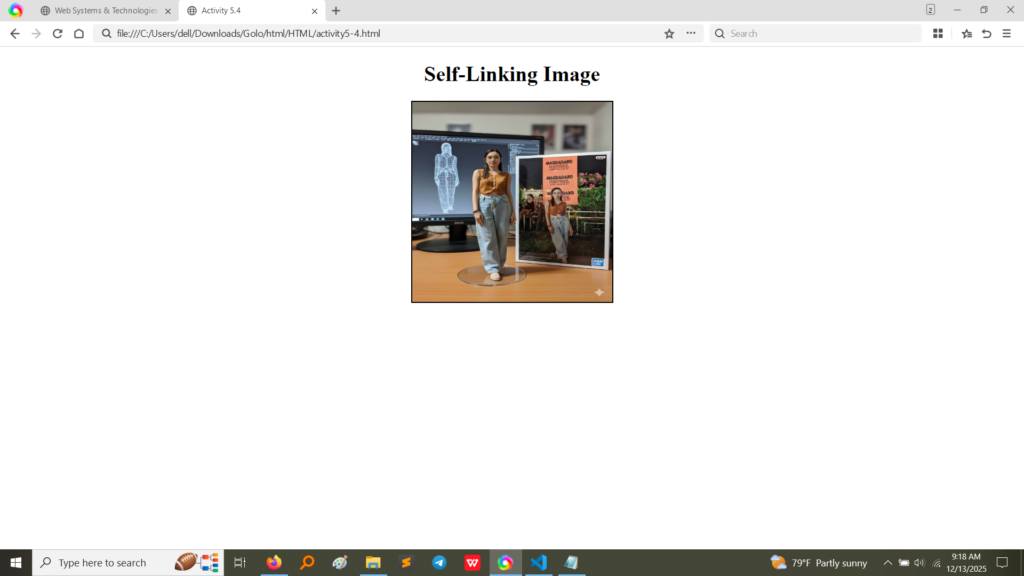
Activity 5.4 built upon the previous concept by creating an image that links back to its own file, demonstrating the ability to open the full-sized image in the browser.

HTML Code (Activity 5.1): The code uses multiple <figure> blocks. Each block contains an <img> tag with the relative path to the image file (e.g., src="image1.webp"), along with specific width and height attributes to control size. Crucially, the <figcaption> tag provides context for the famous artworks displayed. (Image Here: html code.png – showing activity5-1.html and activity5-2.html code)
HTML Code (Activity 5.2): The <img> tag for this activity includes the src attribute pointing to a local file (Flower.jpg). The width and height attributes are set to define the image size, and an inline style attribute is used to apply a solid 2-pixel black border, demonstrating simple styling control. (Image Here: html code.png – showing activity5-1.html and activity5-2.html code)
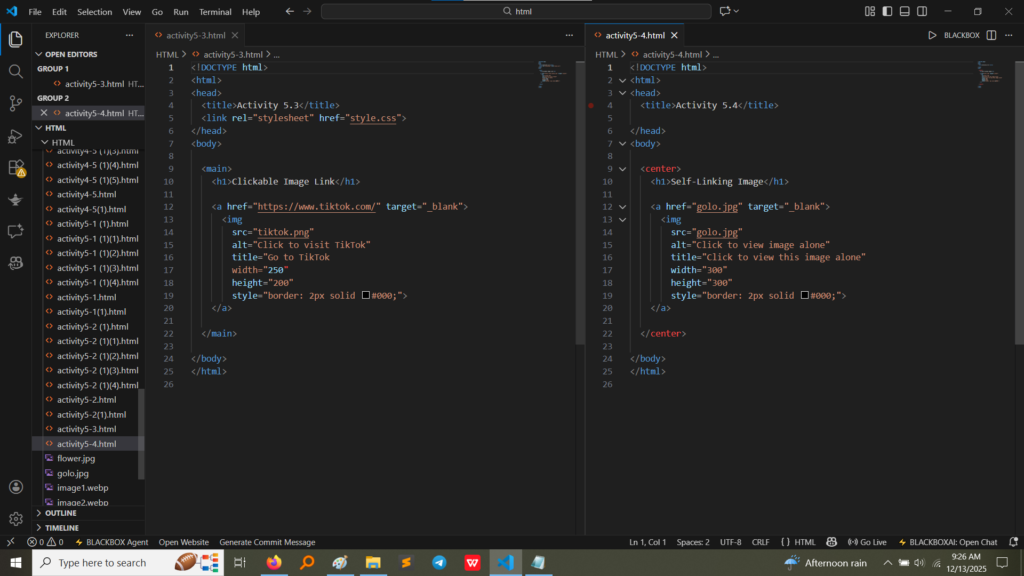
HTML Code (Activity 5.3): The key technique is nesting the <img> tag inside the <a> tag. The <a> tag sets the external destination (href="https://www.tiktok.com/") and the target (target="_blank" to open in a new tab). The image path and dimensions are set on the inner <img> tag. (Image Here: html code2.png – showing activity5-3.html and activity5-4.html code)
HTML Code (Activity 5.4): Similar to Activity 5.3, the <img> is wrapped in an <a> tag. However, the href attribute of the <a> tag points to the same file path as the src attribute of the <img> tag (golo.jpg). This allows the user to click the preview image and view the full-resolution image alone in the browser window. (Image Here: html code2.png – showing activity5-3.html and activity5-4.html code)
Activity 5 solidified the process of integrating and controlling visual content in HTML:
<img> tag: src (defining the image location), alt (crucial for accessibility and SEO when the image fails to load), and setting explicit width and height for layout stability.<img> inside <a>, I learned how to transform any visual element into an interactive navigational tool, whether for external sites or local files.<figure> and <figcaption> introduced semantic structure for media, which is best practice for ensuring images and their descriptions are logically grouped.