Address
304 North Cardinal St.
Dorchester Center, MA 02124
Work Hours
Monday to Friday: 7AM - 7PM
Weekend: 10AM - 5PM
Address
304 North Cardinal St.
Dorchester Center, MA 02124
Work Hours
Monday to Friday: 7AM - 7PM
Weekend: 10AM - 5PM


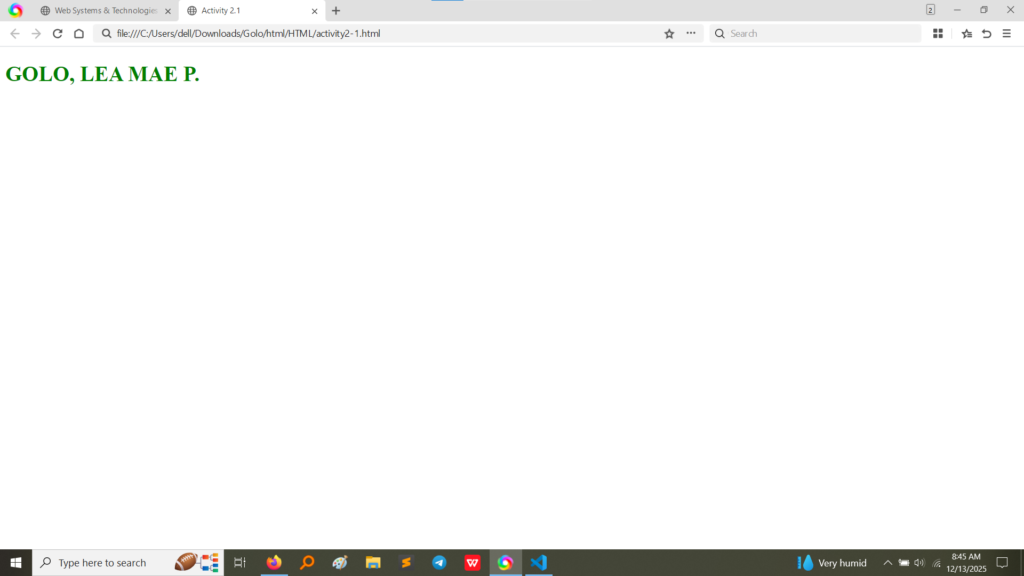
These activities demonstrated how to apply immediate styling effects directly to text using the style attribute and the use of line break tags.
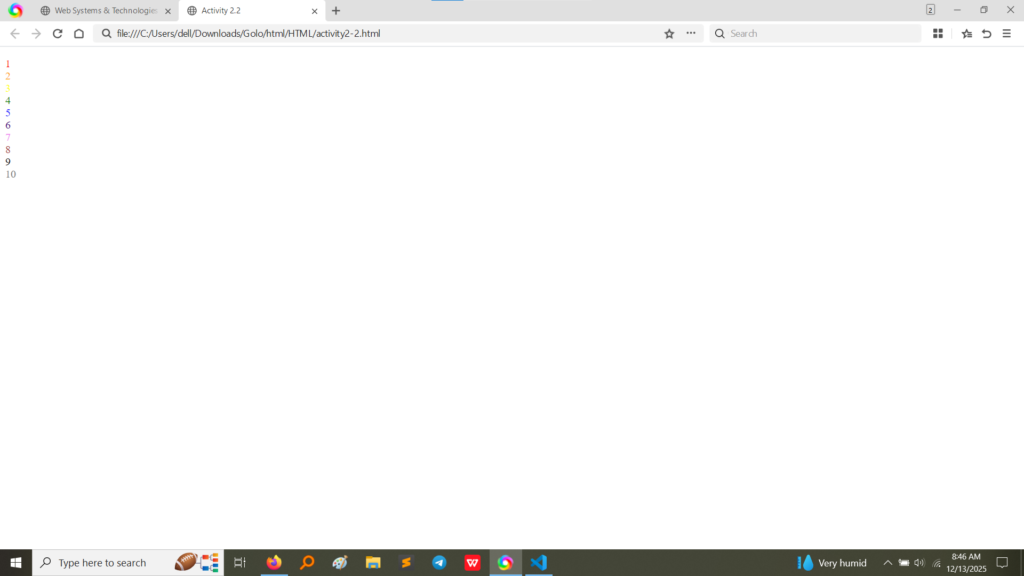
style attribute directly on the <h1> tag in Activity 2.1 to change the text color to green and the use of the <span> tag in Activity 2.2 to color individual numbers in the sequence. The <br> tag is used in Activity 2.2 to force each number onto a new line. (Image Here: html code.png – showing activity2-1.html and activity2-2.html code)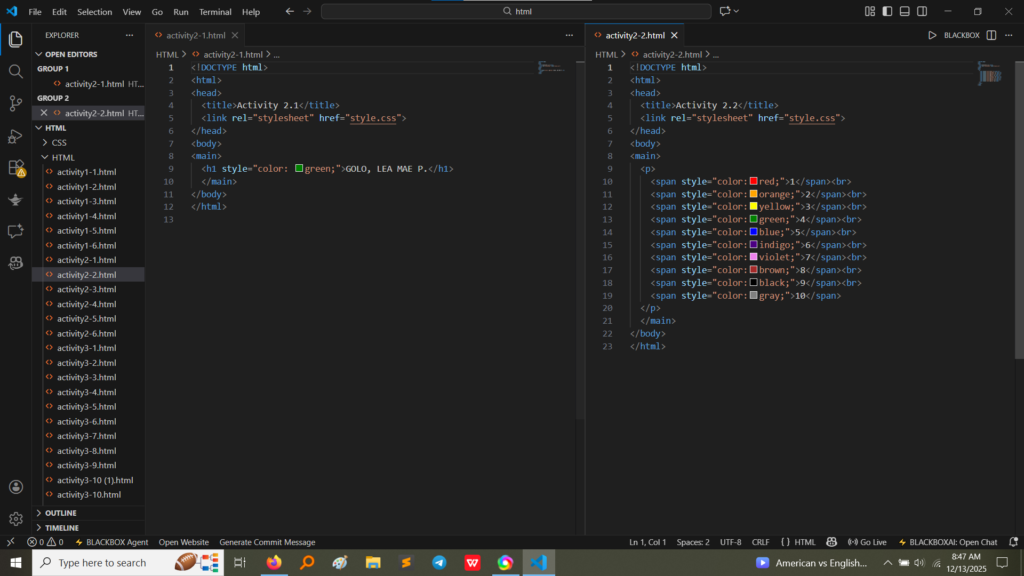


style attribute on a paragraph tag to change the font family to “Tahoma”. Activity 2.4 applies different font families and includes a <br> tag after each phrase to ensure separation. The output confirms that different font styles (like Tahoma, Courier New, Verdana, Georgia, and Comic Sans MS) were rendered correctly for each line. (Image Here: html code2.png – showing activity2-3.html and activity2-4.html code) (Image Here: output4.png – showing output for activity2-3.html) (Image Here: output5.png – showing output for activity2-4.html)Activity 2.5 introduced fundamental semantic formatting tags to emphasize or highlight specific parts of the text.
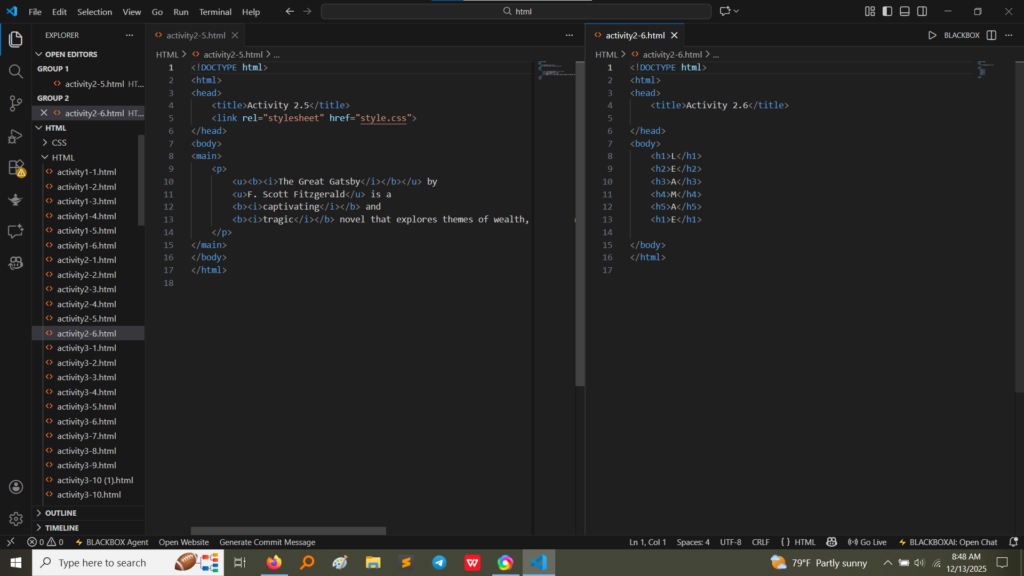
<b>The Great Gatsby</b>: Makes the title bold.<u>F. Scott Fitzgerald</u>: Underlines the author’s name.<i>captivating</i>: Makes the word italic.<i>tragic</i>: Makes the word italic. (Image Here: html code3.png – showing activity2-5.html code)Activity 2.6 explored the use of HTML heading tags, which are crucial for structuring content semantically and visually.
<h1> (largest/most important) down to <h6> (smallest/least important), to render the same set of letters in descending size order. (Image Here: html code3.png – showing activity2-6.html code)<h1> being the largest and the <h6> being the smallest, demonstrating the default browser rendering for heading levels. (Image Here: output7.png – showing output for activity2-6.html)Activity 2 provided a hands-on understanding of essential text control elements in HTML:
style attribute) are quick for small changes (like color and font), they are generally less scalable than external CSS. This exercise highlighted the direct, immediate impact of inline styling.<br> (line break) tag proved essential for forcing text onto a new line, differentiating it from the automatic wrapping of paragraph (<p>) tags.<b>, <u>, and <i> allowed for structural formatting, while the Heading tags (<h1> to <h6>) introduced the concept of content hierarchy and importance, which is vital for accessibility and Search Engine Optimization (SEO).