Address 304 North Cardinal St. Dorchester Center, MA 02124
Work Hours Monday to Friday: 7AM - 7PM Weekend: 10AM - 5PM
Backend (Admin View): Branding and Customization Settings
The screenshots below show the various configuration tabs within the White Label CMS plugin, confirming the capability to customize multiple administrative areas.
1. Branding Configuration Tab: This tab shows the core branding settings. Options are available to:
Hide WordPress Logo and Links: Removing default WordPress branding.
Hide WP Version: Concealing the version number in the footer.
Custom Page Titles: Setting a custom title for the admin area pages.
Admin Bar Branding: Options to upload a custom Admin Bar Logo. (Image Here: White Label CMS – Branding.jpg – showing the Branding tab settings)
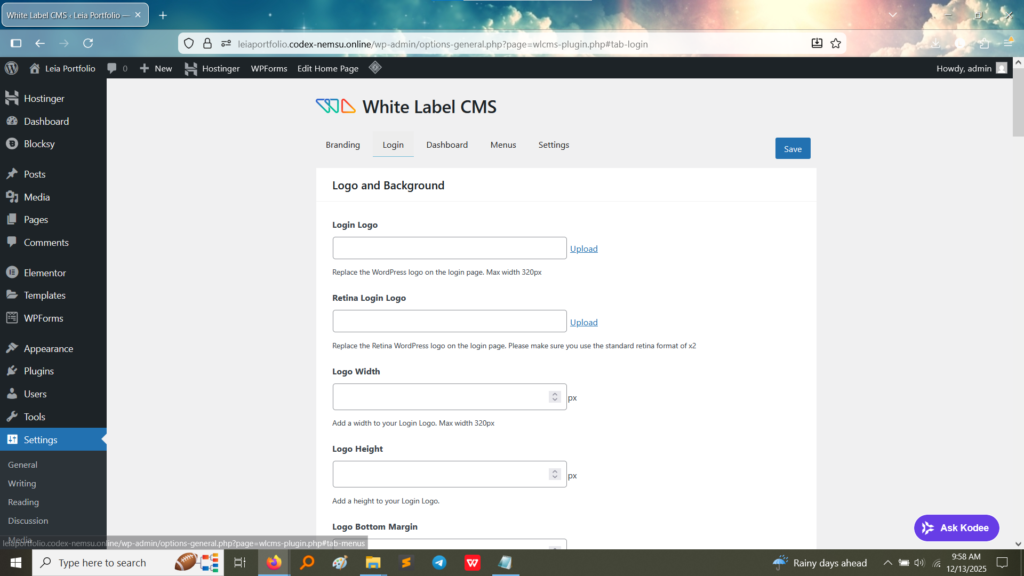
2. Login Page Configuration Tab: This tab is essential for customizing the user experience before a user logs in. Settings include:
Login Logo and Background: Options to upload a custom logo (replacing the WordPress logo) and adjust its size, allowing for complete login page rebranding. (Image Here: White Label CMS – Login.jpg – showing the Login tab settings for logo and background customization)
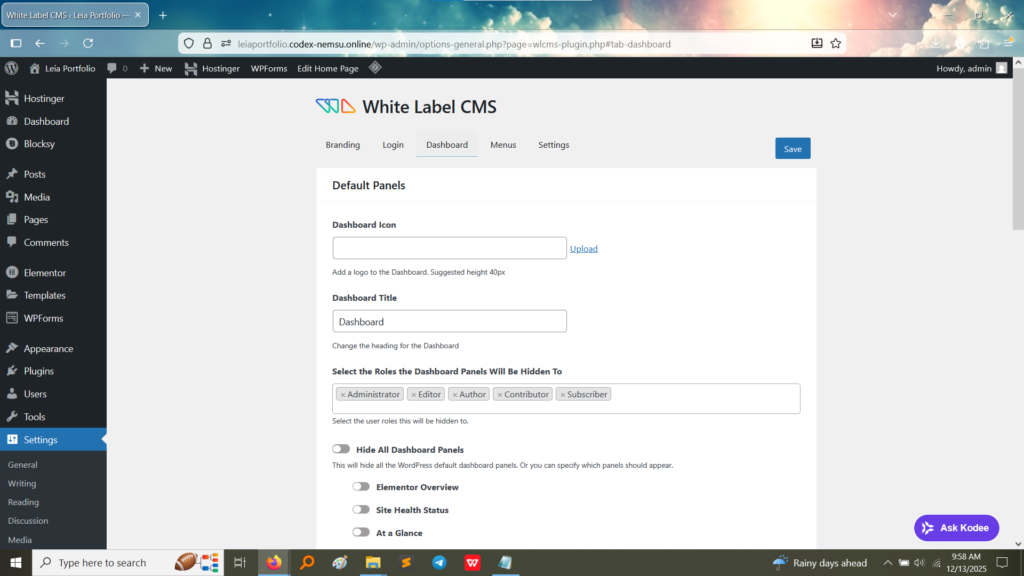
3. Dashboard Configuration Tab: This section controls what the administrator sees immediately after logging in. Options include:
Dashboard Icon/Title: Customizing the icon and main title of the dashboard.
Role Management: Selecting which user roles (e.g., Editor, Contributor, Subscriber) will have default WordPress dashboard panels hidden, streamlining the interface for specific users. (Image Here: White Label CMS – Dashboard.jpg – showing the Dashboard tab settings for customizing panels and icons)
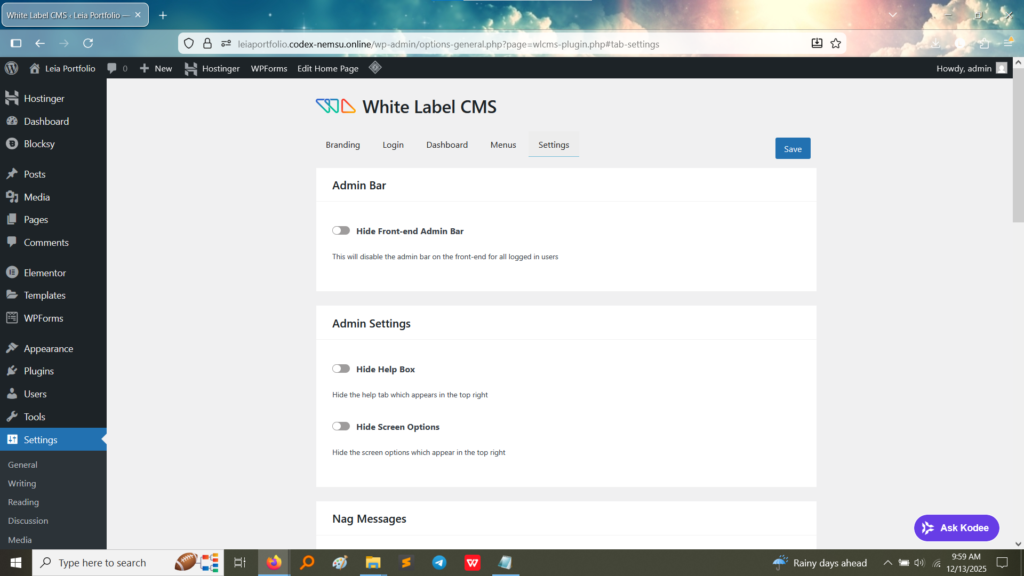
4. General Settings Tab: This tab shows miscellaneous configuration settings that further refine the administrative experience, such as hiding elements like the Admin Bar on the frontend and removing unnecessary options from the backend.
Hide Front-end Admin Bar: Disabling the black bar at the top of the public site for logged-in users.
Hide Help Box / Screen Options: Removing standard WordPress elements that can confuse non-technical clients. (Image Here: White Label CMS – Settings.jpg – showing the Settings tab for Admin Bar and Help Box configuration)
Frontend (Result): Customized Admin Appearance
While a screenshot of the custom login page and a custom footer text is the final proof, the configuration above confirms the ability to implement the requirements:
Custom Login Page: The “Login” tab settings enable replacing the standard WordPress logo and background with custom branding.
Changed Footer Text: The “Branding” tab and other settings generally allow for modification of the administrative footer text (though not explicitly shown in the provided tabs, it is a core feature of such plugins).
Customized Admin Dashboard: The “Dashboard” and “Settings” tabs confirm that unnecessary WordPress elements are controlled, creating a cleaner, branded backend environment.
What I Learned
Configuring the White Label Plugin provided a deep understanding of site ownership and client management:
Branding Control: I learned how to completely decouple a WordPress site from its default platform branding, which is crucial when delivering a CMS to a client under a custom brand.
User Experience (UX) for Clients: The ability to hide complex options (like “Screen Options” and unnecessary dashboard panels) is a key best practice for improving the usability and reducing the complexity of the admin area for non-developer clients.
Security by Obscurity: Hiding the WordPress version number and removing links to WordPress.org adds a small layer of security by obscuring details about the underlying technology.